 One of my projects this week was to make this tote bag for my grand baby who's daddy will be going to Iraq very soon. This was the first time I've tried doing photo transfers on to fabric and as you will see, I REALLY got into it! If you're interested in instructions for transferring photos, I've listed them below. If not, just scroll down past them to see what else I made.
 I started with this photo above and used Photoshop Elements (PE) to change the photo to look like...
 ... this. After loading into the editing mode of PE, I selected Filter - Sketch - Chalk and Charcoal to get this effect.
 Next, I added the desired background and wording to my photo in PE. I won't go into those instructions in this post since I'm attempting to demonstrate photo transfers on to fabric. It would be just as cool to transfer a favorite photo without any embellishments.
 Okay, so now we are ready to print our photo. I used Avery Light Fabric Transfers and was very pleased with the results. Load your printer with the transfer paper, face up or down depending on your printer's instructions. When you are preparing your software to print, be sure you reverse your photo. In PE, I chose, Mirror Image "ON" in the Advance Printing options.
 After printing, your photo will be backwards like this.
 Set your iron on Cotton setting (HOT).
Press smooth with an iron.
Lay your fabric that you're applying your transfer to on the pillow case face up. Press it smooth.
Lay your transfer face down on your fabric in the place you want it to appear.
Press your transfer on your fabric, starting at the left side and going to the right slowly and pressing down very firmly with both hands. Do the same from top to bottom. Be sure your corners are pressed securely. You should press each area about 20 seconds.
Now, remove your fabric from the ironing surface and let cool for a couple of minutes.
Peel the backing off slowly and VOILA. There you have it! It's just like MAGIC! It's been a while since I 've made something I enjoyed so much with such little effort. REALLY!
 In fact, I liked it so much, I decided to make myself a tote. I didn't won't to go to the time and trouble to make a tote so I pulled this tote out of my stash.
  I chose a fabric that I wanted to frame my photo. I backed my fabric with Pellon fusible interfacing following package instructions. Then I cut my fabric in a rectangle large enough to cover my existing tote logo.
 As it turns out, I cut my fabric rectangle bout 1/2 inch larger than my photo on all sides and it worked perfectly to cover my logo. I appliqued my "covering logo fabric" to my bag, using a very close zig zag stitch. Then followed same instructions above to finish my project.
 And here's my finished project all filled and ready to tote! How easy can it be?!
 I told you I was digging it! Yea, I didn't stop there.
  And a tee shirt for hubby.
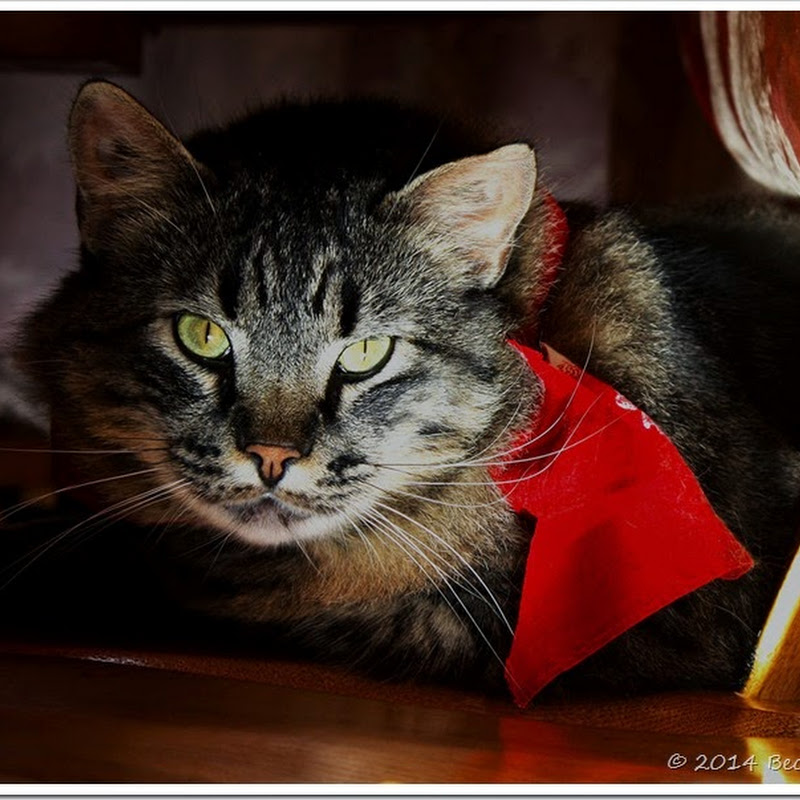
 And THIS was my reward!


.JPG)


.JPG)


.jpg)


23 comments:
Great post Marsha...excellent instructions... easy to understand and fun to do. Such sweeties in your house!!! God Bless, xoxo~Kathy@ Sweet Up-North Mornings...
What a great project - I LOVE the photo and the instructions. I've always wanted to do this. Bookmarking for future use! Thanks so much for sharing!
Roeshel :)
You are a really clever gal. Even I could follow your instructions :-). Your grandbaby is just a doll. I hope you are having a wonderful day.
This is so very very touching!
Thank Jacks Daddy for me would you please.
Stop by my spot if you have a minute... I would love to see you.
TTFN~~ Claudia ♥ ♥
I love all the ways you used the photo transfer and the size variation too.
Blessings all over Jack's daddy and prayers for a safe return.
This is so cool! I love the picture and Jack's daddy must feel so loved with such special projects in his honor. Very clear instructions. I will pray for him and appreciate his service to us!
Your project turned out great. I like how you were able to recycle an unused tote bag. The onesie was adorable!
Great post...what a cute baby! Love the easy to understand directions.
Marsha, these are really beautiful totes! I love the red/white fabric adornments and the beautiful photo of Jack & the flag. To go further with the t-shirts and different sayings is just amazing..wear them proudly! I am proud that your SIL is serving for all of us but so sad when I look into sweet Jack's beautiful eyes and knowing how much he'll miss his daddy and how much his daddy will miss him! Thank him for all the sacrifices he is making for me will you?
Hi Marsha! What a great idea! your results are so professional looking! And thanks to your family for the sacrifice that you are making for us all!...hugs...Debbie
I am getting ready to do my first one as well.
I hope you will come by for a visit.
Cheri
Its So Very Cheri
Aren't you addicted now? That iron-on stuff is so much fun to play with. I love that you repurposed too!
Blessings to your entire family as they make sacrifices for all of us.
Ellen
Hi Marsha...
Just read the sweet note that you left for me on my Blue Monday post...thank you so much for coming by and for your sweet comments!!!
Love your photo transfer projects...what an awesome idea to use this sweet photo of Jack and the flag...honoring Jack's dad's service for our country! I appreciate your SIL and family for all the sacrafices made to uphold freedom!!! Thank you and please extend my gratitude!!!
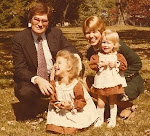
Love the red ticking that you used on the totes...it's really pretty and looks so beautiful with the flag! I haven't ever done photo transfers...thank you for the great instructions! By the way...your family is so sweet! Love the photo of little Jack and Grandpa!!!
Warmest wishes,
Chari
Love your creations and thanks for sharing how you made them.
Tell him "thank you". :)
Marsha, I love this idea! These would make great Christmas gifts.
Jane
With such a precious subject how could you go wrong. I'm sure heads will turn and some conversations will be generated by this projects. Thanks for the instructions too ;-)
Dearest Marsha,
You have done such a nice job on your transfers. This is a very nice post with instructions on how to do this.
God bless your Grandbaby's Daddy going to serve our country over seas. Your totes and clothing items are reminders that real people are serving our country and to be grateful and to pray.
Thank you again for blessing me with an award. I have posted it and pleased to recieve this. Thank you!
Blessings,
d
What absolutely incredible projects. They are just such a wonderful personal touch - thanks so much for sharing them :)
Marsha,
Thank Jack's Dad for his service~
Great post I love the idea. My son's unit gave the kids backpacs that said My Dad's a hero! They were so nice and the men who serve are heros and give us our freedom.
Hugs,
Donna
CUTE KID!
Wow, I'm so impressed. What a great project and wonderful idea.
I love it! Great idea for all those trade-show and other advertising canvas bags!!! Loved visiting your blog!
Come see me!
sweetjeanette.blogspot.com
Your grandson is adorable! You must be very proud of Jack's daddy. Your project is great and I enjoyed reading about it. You seem like you know a lot about photoshop. I am trying to teach myself. It's coming very slowing. I loved how you showed how to do the transfer pictures using photoshop. Would it be possible if you blogged on how you did the background and wording. There are many crafters that would love to know how to use photoshop. thanks also for visiting my blog and signing up to follow it. Looking forward to chatting againg. Blessings...Sherry
Post a Comment