guest room to baby’s room on a budget
This was one of my guest room’s before my daughter temporarily moved in with our two grandsons during her hubby’s stay in Iraq.
 An old iron bed which I had sandblasted and painted white with a black and white toile spread,
an old hand-me-down side table painted black with a lamp of wine bottles and a wine crate my second daughter made for one of her projects in design school.
and black and white sentimental photos and sketches on the walls adorned one side of the room.
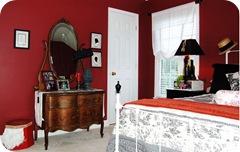
On the other side, an antique oak dresser that I picked up at a junk shop years ago held photos of my family.
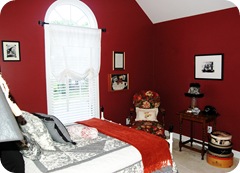
At the foot of the bed, an antique chair reupholstered with an old table inherited from my mom and a collection of hat boxes held old letters and sentimental cards from over the years.
 As I’m explaining the details of my room, I realize how sentimental I really am!
Notice the walls are red. If you’ve ever painted walls red, you know how difficult it is and how many coats it takes. I wasn’t tired of the red so I wasn’t ready to paint over the red for our temporary change to a nursery for our youngest grandbaby.
So our challenge was to come up with a plan for a baby boy’s nursery on a budget with red walls.

With that in mind, I came across the red, blue and taupe quilt on the wall at a friend’s garage sale. It had never been used and still had the $75 price tag attached. I bought it for $20 with plans to use as a bedspread.
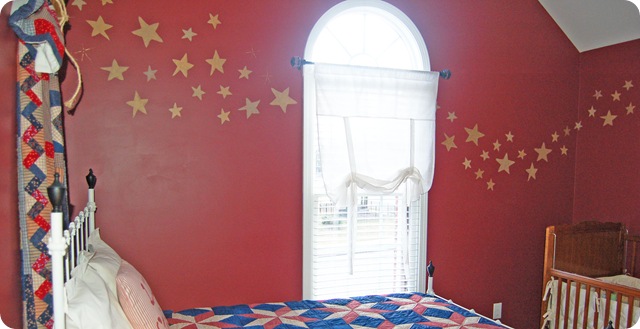
See the stars on the wall quilt? I took note of that and decided to use stars as a theme for the room. Of course, as my luck runs, it was too short for the bed. Oh no! What to do?
You’re not going to believe this. I couldn’t myself when I found a blue, red and cream quilt my grandmother had made for me years ago with what else, but STARS on it!!!
Well, this was one time when my luck turned out to be good instead of bad. I happily laid my grandmother’s handmade quilt on the bed
and hung the garage sale quilt on the wall by gathering it with twine and a star borrowed from my Christmas ornaments. I made the pillow with red pillow-ticking fabric and stenciled Lil Star on the front.

Come back later and I’ll tell you all about how I made the pillow above and the lampshade below to compliment the new room decor and stay in a shoestring budget.

To play on the “star” theme, I stenciled stars randomly all round the room. I used a combination of taupe shades of paint with Valspar Metal & Patina gold glaze over the top of each star.
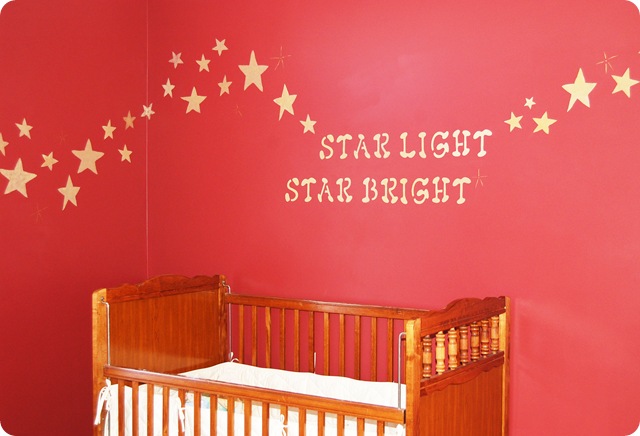
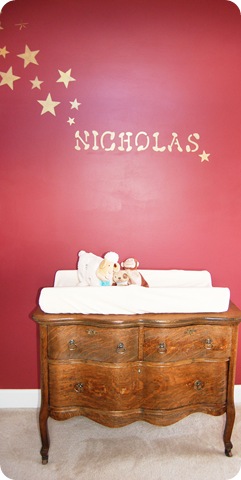
Ending with the little fellow’s name at the antique oak dresser turned changing table. We just took the mirror off and added a changing pad.
I’m not sure what I’ll do with the walls when this season of my daughter’s stay is over. I may paint over the stars and leave the room red or I may leave this room just the way it is to host my grandbabies when they come to visit in the future. Of course, I’ll have to paint over his name.
Maybe I’ll just re-stencil the current grandbaby’s name in place of the last one.
WOW! I’m writing like I’m going to have loads of them or something! Gee, I don’t have that many children to have grandchildren!

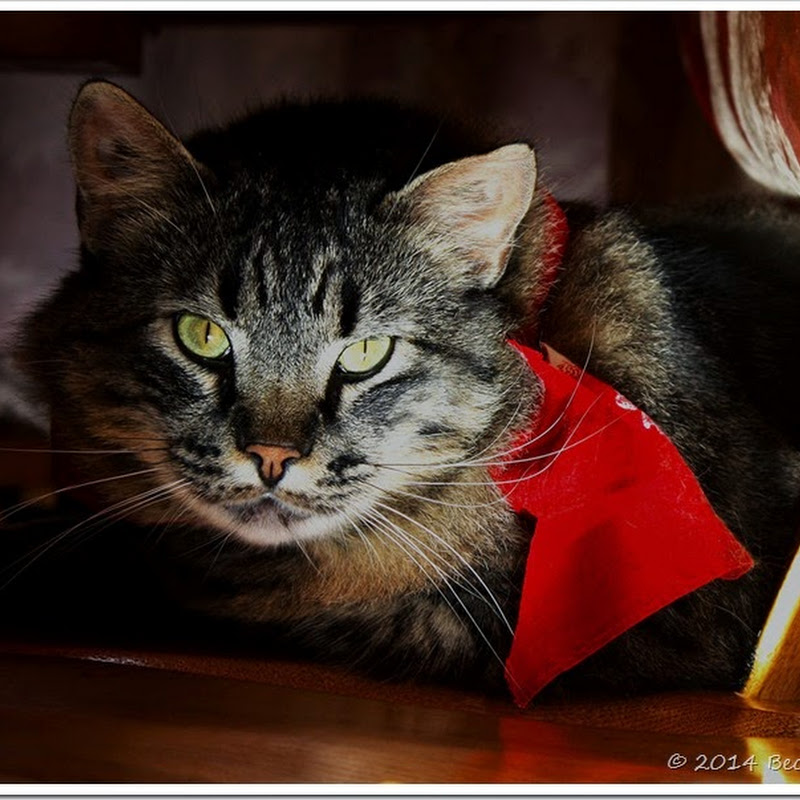
Okay, now that you’ve seen my starry redo, meet the real STAR of the room!

I’m sharing this post with some fantastic redos at the versatile Susan’s Met. Monday, DIY Show off, and Transformation Thursday






















.JPG)


.JPG)


.jpg)